Add Drama and Depth with Custom White Balance

Have you ever struggled to take a classy (yet natural) family picture?
Or photographed an incredible wilderness scene, only to be sorely disappointed by flat results? If the world has so much wonder, why is capturing that majesty so tricky?
Many photos are simply too dark or too light, with awkward shadows, blinding background rays, or glaring reflections (think Grandma’s glasses!). The color can seem artificial or just washed out. But photos with proper lighting come alive, creating a drama and depth that resonates with viewers on a heart-stirring level.
Whether you adjust your camera on the front end or edit the photo later, here are some tricks to getting the photo balance just right!
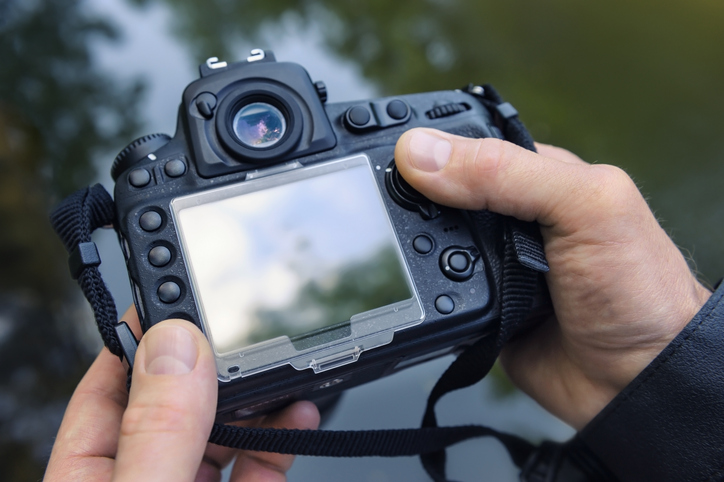
Adjusting Your Digital Camera Settings
Different sources of light have varying color hues, so a picture taken with a normal white balance under artificial lighting conditions transmits low heat to the camera’s sensor, resulting in dull yellow or orange shades in the photo.
Though human eyes can automatically adjust lights and color temperatures to “sense” the right color, a camera needs to be adjusted to different lights for accurate color reproduction. By adjusting the white balance setting of your digital camera before you start shooting, you can produce the most accurate colors in your image.
Most upscale digital cameras include presets like these:
Tungsten: Best for indoor shoots under a little light bulb.
Fluorescent: Grabs brighter, warmer shots while compensating for cool fluorescent tones.
Cloudy: Warms up a subject and its surroundings when natural light is limited.
Shade: Useful for warming up the surroundings that have a cooler, bluer tone.
You can also adjust your camera manually by setting a white object as the reference point.
To manually set the white balance in your image, take a photo of something white in the same location (and under the same light) you intend to shoot. Then go to your camera’s shooting menu, choose white balance settings, and select the image you just photographed by pressing the “set” or “Ok” button. This will enable you to customize a white balance setting for your next round of photos, resulting in more neutral, natural shades and less post-production editing.
Mastering Post-Production Tints and Temps
Suppose you get the perfect photo, but the colors aren’t quite right.
Adobe Lightroom can help!
Adobe Lightroom is an inexpensive post-processing program used by designers worldwide. In the past, developing exquisite images required excellent photos, nuanced darkroom abilities, and expensive equipment. In contrast, Lightroom allows even beginners to normalize light tones they weren’t able to land in-camera.
When you’re ready to edit the balance in a photo, here are three methods:
Option 1: In Adobe Lightroom, adjust white balance with the eyedropper tool or use the preset menu that best describes the lighting conditions you shot in.
Option 2: Using the white balance drop-down list, manually drag the “temp” and “tint” sliders in the WB panel to adjust how warm or cool your image is.
Option 3: Select the “White Balance Selector” tool in the White Balance Panel (or for a shortcut, press “W” and scan across your image to locate an area that has a neutral grey color to serve as a reference point). Once you click this grey or neutral area, the appropriate white balance settings will be applied to the entire image.
If you don’t like the result, simply use the reset button to remove all adjustments.
In the Eye of the Beholder
Sound tricky?
Don’t sweat it. There is really no “perfect” white balance because the best contrast is what looks pleasing to YOUR eye. In the end, learning and experimenting is half the fun! Reach out to us if you’d like to learn more about adding the perfect white balance to your next piece.
